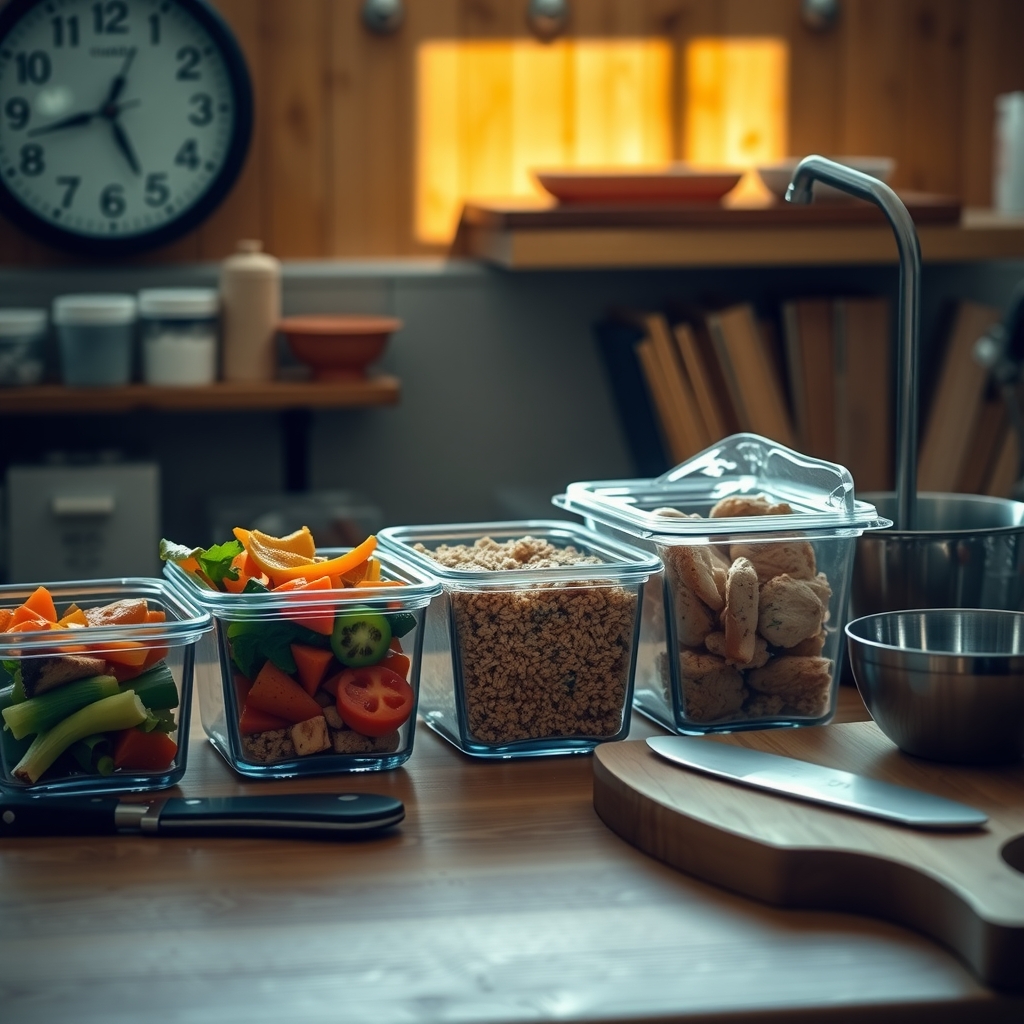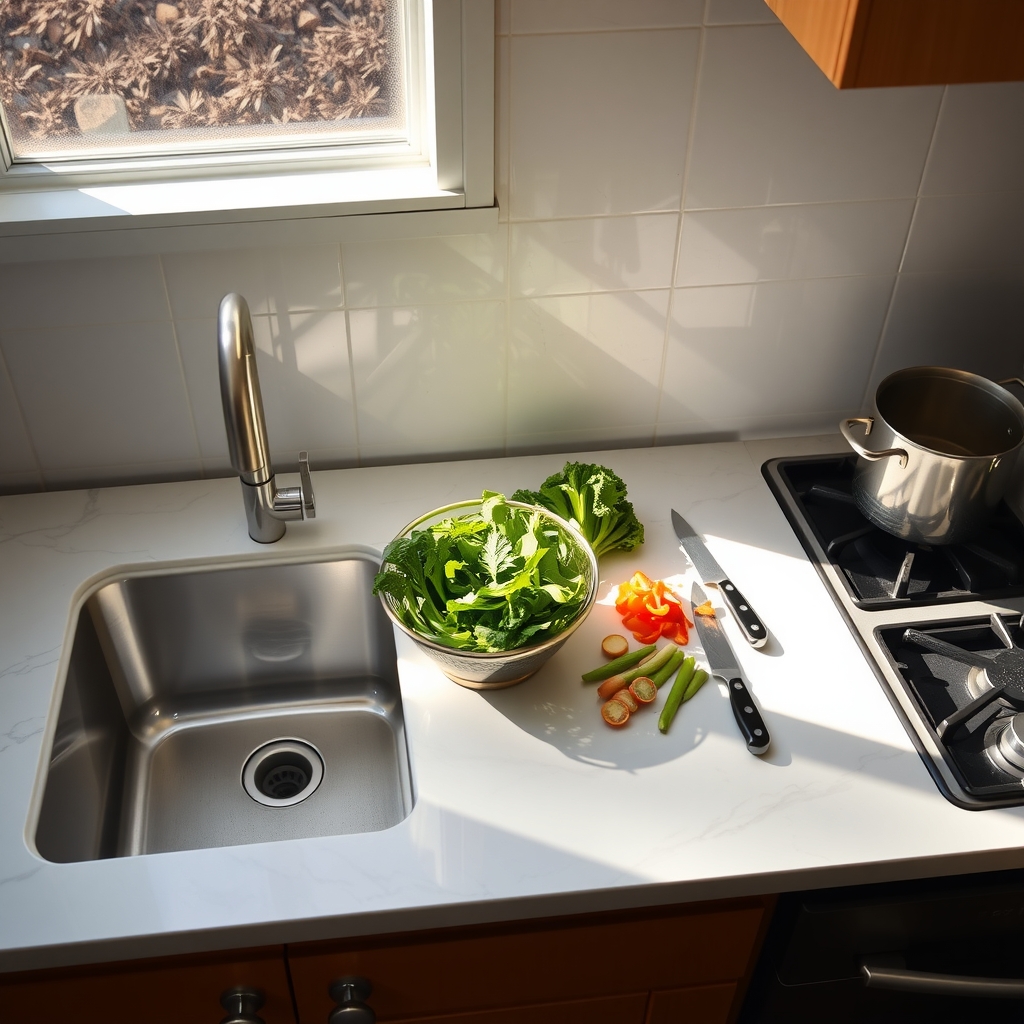
If you find yourself reaching for takeout menus because your kitchen feels like an obstacle course on busy weeknights, this guide is for you. It speaks to home cooks who want to prepare more meals from whole ingredients but feel slowed down by cluttered counters, poor lighting, or appliances buried in hard-to-reach cabinets. You do not need a massive renovation or a professional range to make a difference; small, intentional changes to how your space is organized can lower the friction between you and a nutritious dinner.
By the end of this article, you will be able to:
- Map your kitchen into distinct zones that follow the natural flow of washing, prepping, cooking, and assembling
- Position your sink, countertops, and major appliances to support that sequence without wasted steps
- Choose storage solutions that keep healthy tools — like steamers, spiralizers, and quality knives — visible and within easy reach
- Arrange your refrigerator and pantry so fresh produce and staples are the first things you see
- Set up a simple herb or microgreens station for a constant supply of fresh flavor
- Select lighting and ventilation that make the space comfortable to work in for extended periods
These adjustments may help make weeknight cooking feel more manageable and enjoyable.
Zoning Work Centers Around Whole-Food Preparation
A kitchen built around whole-food preparation starts with clear zones that mirror how a meal actually comes together. Instead of the classic triangle that prioritizes stove, sink, and refrigerator as equal points, think in three functional bands: a produce station, a cooking station, and a plating or assembly station. Each band holds the tools, surfaces, and storage needed for its step so you move forward without backtracking.
The produce station sits nearest the sink and refrigerator. Give it a generous stretch of counter — at least 36 inches if space allows — plus a pull-out cutting board or a dedicated board that lives there. Keep a colander, salad spinner, vegetable brush, and paring knives in a shallow drawer or countertop caddy right at hand. A compost bowl or small scrap bin on the counter keeps trimmings from migrating across the room.
The cooking station centers on the range or cooktop. Flank it with landing space on both sides: one side for hot pans coming off the burner, the other for prepped ingredients waiting to go in. Store heavy pots, sheet pans, and the utensils you use while cooking — tongs, spatulas, ladles — in deep drawers or a hanging rail within arm’s reach. Spices and oils belong in a pull-out rack or tiered drawer insert beside the stove, not across the kitchen.
The assembly station lands near the dining area or island overhang. This is where grain bowls get composed, salads get tossed, and plates get finished with herbs, nuts, or a squeeze of lemon. Keep finishing salts, vinegars, and small garnish containers in a shallow tray. A set of nesting mixing bowls and a few serving spoons complete the kit.
When each zone holds only what its step requires, the kitchen stops feeling like an obstacle course and starts feeling like a workflow.
Positioning the Sink for Produce Washing and Cleanup Flow
The sink is the natural starting point for almost every healthy meal, so its placement shapes how smoothly produce moves from market bag to cutting board to pan. Locating it near the refrigerator and a generous stretch of countertop creates a short, logical path: rinse, shake, chop, cook. A deep, single-bowl sink with an integrated colander or a slide‑out drying rack lets you wash a large bunch of kale or a colander of berries without splashing onto clean surfaces. If space allows, a second, smaller prep sink on an island keeps the main sink free for dirty dishes while you’re still prepping vegetables.
Position the faucet with a high‑arc spout and a pull‑down sprayer so you can fill tall stockpots and direct a focused stream into crevices of leeks or cauliflower. A hands‑free or foot‑pedal option reduces cross‑contamination when your hands are coated in raw chicken juice or sticky dough. Place a pull‑out trash or compost bin directly beside the sink so trimmings disappear in one motion, and keep a slim towel bar within arm’s reach for quick drying.
Lighting matters here, too. A focused LED task light above the sink eliminates shadows that hide grit on root vegetables. Finally, choose a non‑porous, easy‑clean countertop material — quartz, solid surface, or well‑sealed stone — that extends at least eighteen inches on either side of the basin. That landing zone gives you room to set a salad spinner, a bowl of washed greens, or a tray of roasted vegetables without crowding the workflow.
Designing Countertop Stages for Batch Cooking and Assembly
A generous stretch of clear countertop is the quiet engine of healthy weeknight cooking. When you can move from washing to chopping to assembling without shuffling bowls or clearing clutter, the path to a vegetable‑heavy dinner feels natural instead of like a project. Aim for at least three distinct stages side by side: a landing zone for raw produce right beside the sink, a generous chopping runway in the center, and an assembly platform near the stove or oven where components come together into a sheet‑pan meal, grain bowl, or stir‑fry.
Keep each stage purpose‑built but flexible. The landing zone benefits from a shallow, rimmed tray that catches drips from rinsed greens and holds a colander; it also gives you a place to set a compost bowl so scraps never migrate to the chopping area. The central runway should be at least 36 inches wide and free of permanent appliances — store the stand mixer and toaster elsewhere so the surface stays open for a large cutting board and a few mise en place bowls. The assembly platform works best when it sits at a comfortable height for plating; if your perimeter counters are standard 36 inches, a 30‑inch‑high island section can spare your back during long batch‑cook sessions.
Small details reduce friction: – Install a pull‑out cutting board over a trash chute so vegetable trimmings disappear with a swipe. – Mount a magnetic knife strip above the chopping runway; blades stay sharp, visible, and out of the drawer jumble. – Add a recessed channel or silicone mat along the back edge of the assembly platform to corral olive‑oil drips and sauce splatter. – Keep a heat‑proof trivet and a stack of parchment sheets in a nearby drawer so sheet‑pan transitions stay smooth.
When each stage flows into the next, you can roast a tray of roots, simmer a pot of beans, and toss a fresh salad in the time it takes to scroll through a recipe video. The layout does the heavy lifting; you just cook.
Integrating Appliance Storage That Keeps Healthy Tools Visible
A blender tucked behind a stack of baking sheets rarely gets used for morning smoothies. A food processor buried in a low cabinet stays idle when you want quick hummus or cauliflower rice. Keeping the tools that support whole-food cooking in sight and within easy reach turns good intentions into daily habits.
Start by taking inventory of the appliances you actually use for healthy meals. For many people that list includes a high-speed blender, food processor, immersion blender, spiralizer, air fryer, or electric pressure cooker. Choose one countertop zone — ideally near the prep sink and a power strip — and give each of those devices a permanent home there. If counter space is tight, a pull-out shelf in a base cabinet at waist height works almost as well; the key is that you can see the machine and grab it without moving anything else.
Store the accessories that go with each appliance right beside it. Blender jars, tamper, and recipe booklet sit next to the motor base. Food processor discs and blades live in a labeled bin that slides out with the unit. Spiralizer blades stay in a small caddy on the same shelf. When everything for a task is grouped together, the mental friction of "where is that piece?" disappears.
- Use a tiered riser or lazy Susan to keep smaller gadgets visible without crowding.
- Coil cords with Velcro ties so they don't create visual clutter.
- Reserve a nearby drawer for frequently used hand tools — microplane, citrus reamer, salad spinner parts — so they travel with the workflow.
If you have appliances that only appear a few times a year — ice cream maker, deep fryer, large roaster — move them to pantry shelves or garage storage. Prime real estate belongs to the tools that help you put vegetables, legumes, and whole grains on the table on a Tuesday night.
Planning Refrigerator Layout for Fresh Ingredient Access
A refrigerator organized around fresh ingredients turns the daily question "what's for dinner?" into a visual inventory of possibility. Start by treating the upper shelves as your ready-to-eat zone: washed greens in clear containers, pre-cut vegetables at eye level, and jars of homemade dressings or fermented foods where they catch your gaze first. Many people find that simply seeing colorful produce when they open the door nudges them toward a salad or stir-fry instead of reaching for a packaged alternative.
Reserve the crisper drawers with intention. Use one for high-humidity items like leafy greens, herbs, and broccoli, and the other on low humidity for apples, peppers, and mushrooms that prefer drier air. If your model allows, adjust the slider vents accordingly; a small tweak can extend the life of delicate items by several days. Place a shallow bin in each drawer to corral loose items and make cleaning spills easier.
The middle shelf works well for proteins and eggs — keep them in their original packaging or labeled containers with prep dates. Lower shelves can hold bulk items like cabbage, carrots, and root vegetables in breathable bags. Door shelves, being the warmest spot, suit condiments, nut butters, and pasteurized juices rather than milk or fresh herbs.
- Group ingredients by meal type: a "stir-fry kit" bin with sliced peppers, snap peas, and ginger reduces friction on busy nights.
- Use clear, stackable containers so contents are visible without opening lids.
- Rotate stock weekly: move older produce forward, compost what’s past prime, and note what needs using soon.
A quick Sunday reset — wiping shelves, checking dates, repositioning items — keeps the system functional without becoming a chore. When the fridge reflects how you actually cook, healthy choices become the path of least resistance.
Creating a Dedicated Herb and Microgreens Growing Station
A small growing station keeps fresh flavor within arm's reach and turns a routine meal into something brighter without extra trips to the store. Choose a spot near the sink or prep zone where natural light hits for at least four to six hours a day. A narrow windowsill, a shallow shelf under a cabinet, or a rolling cart with a grow light all work. Keep the footprint tidy by using matching containers with drainage holes and a shared tray to catch water.
Select herbs you actually use — basil, cilantro, parsley, chives, thyme, mint — and add a tray of microgreens such as radish, broccoli, or sunflower for a quick harvest in seven to fourteen days. Rotate crops by starting a new tray every week so there's always something ready to snip. Use a light, peat-free seed-starting mix for microgreens and a well-draining potting blend for herbs. Water from the bottom when the surface feels dry, and trim herbs regularly to encourage bushy growth.
- Mount a simple LED grow bar on the underside of the upper cabinet if daylight is limited; twelve to sixteen hours on a timer mimics a long summer day.
- Label each container with the variety and sow date using a waterproof marker.
- Store a small pair of clean scissors and a harvest bowl right at the station so clipping becomes a one-motion habit.
- Keep a spray bottle of diluted neem oil or insecticidal soap nearby for the occasional pest check; many people find a quick weekly inspection prevents larger issues.
Treat the station like any other work center: wipe the tray, sweep stray soil, and compost spent roots during your normal cleanup flow. The result is a living pantry that supplies flavor, color, and a quiet sense of satisfaction every time you cook.
Optimizing Lighting and Ventilation for Cooking Comfort
Good lighting and fresh air change how a kitchen feels at 6 p.m. on a Tuesday. When you can see the color of a pepper and the steam rising from a pot, you cook with more confidence and less strain. Start with layered light. A broad, dimmable overhead fixture handles general brightness. Add focused task strips under upper cabinets so chopping boards and measuring cups sit in clean white light without shadows. If you have an island or peninsula, hang a pendant or two on a separate switch; that zone becomes a natural gathering spot while a sauce reduces.
Color temperature matters. Aim for 3000 K to 3500 K in work areas — warm enough to feel inviting, cool enough to render greens and reds accurately. Put the sink and main prep run on the same circuit so a single dimmer adjusts both when you shift from rinsing kale to searing tofu.
Ventilation is the quiet partner. A range hood that moves at least 300 CFM and vents outside pulls smoke, oil mist, and lingering aromas before they settle on surfaces. Choose a model with a low-sone rating so conversation stays easy. If ducting outside isn’t possible, a recirculating hood with a charcoal filter is better than nothing, but clean the filter monthly.
- Install a toe-kick light on a motion sensor for late-night water runs without glare.
- Keep a small countertop fan handy for cross-ventilation when windows align.
- Wipe hood baffles quarterly; buildup cuts airflow fast.
Together, these choices make the kitchen a place you want to stay in, not just pass through.
Putting It Together
Start by walking through the kitchen with a notebook and timing a typical dinner prep from start to finish. Note where you pause, backtrack, or reach across the room. Those friction points are your priority list for the week.
- Day 1: Clear one countertop zone completely. Keep only the cutting board, chef’s knife, and a bowl for scraps. Move everything else to a holding box.
- Day 2: Rearrange the refrigerator so pre-washed greens, cut vegetables, and lean proteins sit at eye level in clear containers. Shift condiments and drinks to the door or lower shelves.
- Day 3: Install a simple pull-out shelf or turntable in the cabinet nearest the stove for the blender, food processor, and steamer basket. If they stay visible, they get used.
- Day 4: Set up the herb station on the windowsill or under the cabinet light. Plant basil, parsley, and a microgreens tray. Water and note the date.
- Day 5: Swap the overhead bulb for a 4000K LED and clean the range hood filter. Better light and airflow make the space feel more inviting.
- Day 6: Run a test cook using the new flow. Time it again. Adjust one thing — maybe the knife block moves closer to the board.
- Day 7: Rest. Observe what felt easier. Plan one small tweak for next week.
More from the blog
- How to Stretch Your Hamstrings Safely After Sitting All Day
- How to Structure a Weekly Walking Plan That Builds Endurance Safely
- How to Build a Weekly Meal Prep Routine That Takes Under Two Hours
From FitLife Solutions
Browse all our practical health and fitness guides at fitlifesolutions.site.
New practical health guides and articles on WhatsApp: follow our channel.
Earn by sharing our books with your audience: join our affiliate channel on Telegram for one ready-to-post book a day.
This article is for general information only and is not a substitute for professional medical advice. Talk to your doctor or another qualified health professional before changing your diet, exercise or health routine, especially if you have a medical condition or take medication.