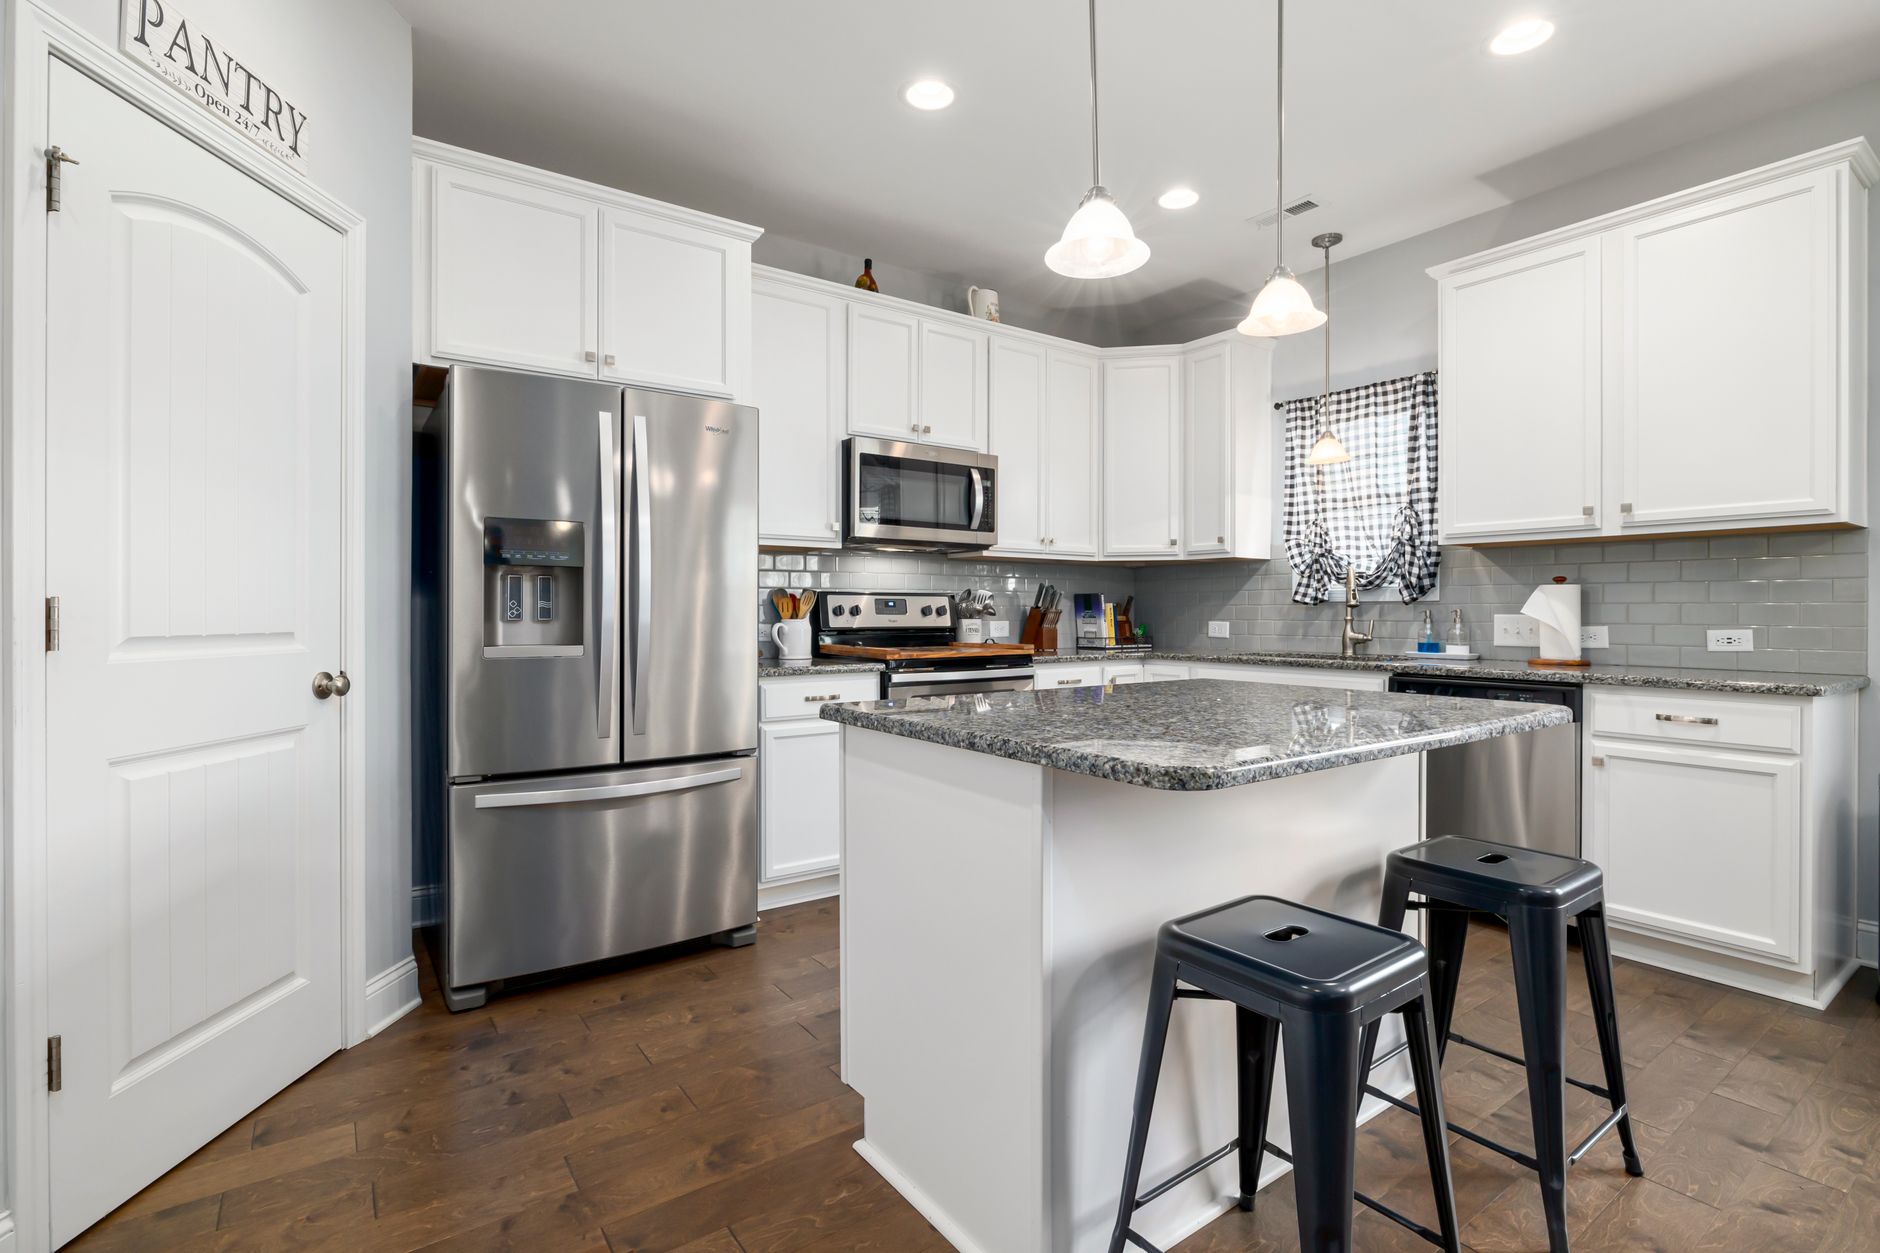
If you have ever tossed a limp bag of greens or discovered a jar of sauce years past its date, you know how quietly food waste adds up. This guide is for anyone who wants a calmer kitchen — whether you are cooking for one, feeding a family, or simply trying to make groceries stretch further. You do not need a massive fridge or a walk-in pantry; you just need a system that works with the space you have.
By the end of this article, you will be able to:
- Group foods in your refrigerator by temperature needs so everything stays fresher longer
- Set up a simple rotation habit that naturally brings older items forward
- Choose containers and labels that let you see what you have at a glance
- Create a small "eat me first" spot for the most perishable ingredients
- Organize dry goods by category and date so nothing gets lost in the back
- Build a quick weekly check-in that connects what you have to what you will cook
- Adapt your storage when seasons change or you buy in bulk
The goal is not perfection. It is a practical rhythm that keeps food visible, accessible, and used.
Zone Your Refrigerator by Temperature and Food Type
Your refrigerator isn't a single cold box; it is a collection of microclimates. Understanding these temperature zones helps you store food where it will stay fresh longest. The upper shelves tend to maintain the most consistent temperature, making them ideal for ready-to-eat foods like leftovers, drinks, yogurt, and deli meats. The lower shelves are usually the coldest part of the unit, so reserve this space for raw meat, poultry, and fish — preferably in a dedicated drawer or on a plate to catch any drips and prevent cross-contamination.
The crisper drawers are designed to control humidity. Many models allow you to adjust the vent: a high-humidity setting (vent closed) works well for leafy greens, herbs, broccoli, and carrots, which wilt when they lose moisture. A low-humidity setting (vent open) suits fruits and vegetables that release ethylene gas as they ripen, such as apples, pears, melons, and stone fruit; the airflow helps carry the gas away so it doesn't speed up spoilage for neighboring produce.
The door is the warmest zone because it gets a blast of room-temperature air every time you open it. Use this area for condiments, sauces, pickles, juice, and butter — items with preservatives or high acid/salt content that tolerate temperature fluctuation. Avoid storing milk or eggs in the door, even if the shelves seem shaped for them; they will last longer on an interior shelf.
A quick zone cheat sheet: – Upper shelves: leftovers, drinks, ready-to-eat snacks – Lower shelves: raw meat, poultry, seafood (contained) – High-humidity drawer: greens, herbs, crisp vegetables – Low-humidity drawer: ethylene-producing fruits – Door: condiments, juices, pickles, butter
Implement a First-In, First-Out Rotation System
When you bring groceries home, the natural habit is to place new items at the front of the shelf, pushing older ingredients to the back where they are easily forgotten. A first-in, first-out rotation flips that habit so the food that has been waiting longest gets used first. Start by removing everything from one shelf or drawer at a time. Check dates and condition, then return items with the earliest expiration or purchase date to the front. Newer purchases go behind them. This simple shuffle keeps perishables moving through your kitchen instead of languishing until they spoil.
In the refrigerator, apply this to produce drawers, deli bins, and condiment shelves. For leafy greens or berries, transfer them to a clean container lined with a paper towel and place the older batch in front of the newer one. Eggs, yogurt, and plant milks follow the same logic: line them up by date so you reach for the oldest carton automatically. In the freezer, stack bags of vegetables or portions of soup with the earliest freeze date on top. A strip of masking tape and a marker make dating effortless.
- Write the purchase or prep date on every container before it goes in.
- Keep a roll of tape and a marker on the fridge door for quick labeling.
- When unloading bags, place new items to the back or bottom of each zone.
- Do a quick front-to-back scan while putting away leftovers each night.
Many people find that this rhythm becomes second nature after a few weeks. It reduces the chance of discovering a fuzzy container weeks later and helps you plan meals around what needs eating now. If you have specific dietary needs or health conditions, check with a doctor or registered dietitian for personalized storage guidance.
Use Clear, Labeled Containers for Visibility
Clear containers turn a cluttered shelf into a visual inventory. When you can see what you have at a glance, you are less likely to buy duplicates or let items disappear behind taller jars. Choose rectangular or square shapes in a few consistent sizes; they stack neatly and make the most of limited shelf depth. Glass works well for acidic foods and reheating, while lightweight BPA-free plastic is handy for high shelves or kids' snacks. Matching lids keep seals tight and prevent the frustration of hunting for the right top.
Label every container with the contents and the date it was opened or prepared. A simple strip of masking tape and a marker works fine, or you can use reusable chalkboard labels if you prefer a cleaner look. Include the "use by" date for store-bought items and a "prepped on" date for leftovers. This small habit removes the guesswork that leads to unnecessary tossing.
Consider these practical tips for getting started: – Transfer grains, beans, nuts, and flour from torn bags into airtight bins the moment you unpack groceries. – Portion large blocks of cheese or cooked proteins into meal-sized containers so you only open what you need. – Keep a roll of tape and a marker in a kitchen drawer so labeling never feels like a chore.
Many people find that the upfront effort of decanting pays off in faster meal prep and fewer mystery containers lurking in the back. The goal is a system that feels intuitive, not a project that adds work.
Designate an 'Eat Me First' Bin for Perishables
One of the simplest habits that keeps food from disappearing into the back of the fridge is setting aside a dedicated spot for items that need attention soon. Choose a shallow bin, a basket, or even just a specific shelf at eye level and label it clearly so everyone in the household knows its purpose. This becomes the first place you look when you are deciding what to cook for dinner or packing a lunch.
Place anything approaching its peak in this zone: half a bag of spinach, the last few berries, a block of cheese with a week left on the date, cooked grains that should be eaten within a few days, or leftovers from Monday night. When you unload groceries, take a moment to scan what you already have and move those priority items into the bin before adding the new purchases behind them.
A few guidelines help the system run smoothly:
- Keep the container small enough that it forces you to process it regularly.
- Use a dry-erase marker on the bin or a sticky note to jot down what is inside if the contents are not obvious.
- Make it a habit to check this spot first when you open the door, turning potential waste into the starting point for your next meal.
Many people find that this single step reduces the surprise of discovering spoiled produce weeks later. It also makes meal planning feel less like a puzzle because the most urgent ingredients are already gathered in one place.
Organize Pantry Staples by Category and Expiration
Start by grouping similar items together so you can see exactly what you have at a glance. Keep baking ingredients like flour, sugar, and leaveners on one shelf; canned goods such as beans, tomatoes, and broth on another; grains, pasta, and legumes in a third zone; and snacks, spices, and oils in their own areas. This category approach prevents duplicate purchases and makes it easier to spot gaps before you head to the store.
Within each category, arrange packages by expiration date with the soonest dates in front. When you bring home new groceries, slide them behind the older stock rather than stacking on top. A quick visual scan each week helps you catch items that are creeping toward their best-by window. Many people find it helpful to keep a small clipboard or magnetic notepad on the pantry door to jot down staples that need using soon.
Consider these practical habits to keep the system running smoothly: – Transfer bulk grains, nuts, and dried fruit into clear, airtight containers labeled with the purchase or expiration date. – Store heavier items like large cans or jars on lower shelves for safety and stability. – Reserve eye-level space for the ingredients you reach for most often. – Group meal-specific kits — such as taco night or soup basics — in a basket so everything stays together.
A tidy, date-ordered pantry reduces the chance that food gets pushed to the back and forgotten. It also makes weekly inventory checks faster, giving you a clear picture of what needs to be cooked before you shop again.
Create a Weekly Inventory and Meal Planning Routine
Taking fifteen minutes each week to review what you have on hand can shift your kitchen from reactive to intentional. Before you write a grocery list, open the fridge, freezer, and pantry and note what needs to be used soon. A simple notepad on the counter or a note on your phone works well. Jot down quantities: half a bag of spinach, three eggs, an open jar of salsa. This snapshot becomes the foundation for your meal plan, so you cook from what you already own instead of buying duplicates.
Build your weekly menu around those perishable items first. If you see wilting herbs and a block of feta, plan a frittata or grain bowl for Tuesday. Leftovers get a designated night — maybe Thursday — so they don’t linger until they’re unrecognizable. Keep the plan flexible; a sticky note on the fridge with "Mon: stir-fry, Tue: soup" is enough structure without feeling rigid.
- Check expiration dates while you inventory; move anything close to the front.
- Cross-reference your list with the "Eat Me First" bin so nothing hides.
- Note staples running low (rice, beans, oil) so they go on the shopping list automatically.
- Involve household members by asking for one meal request each week.
After shopping, put new items behind older ones and update your inventory note. Over time, this rhythm reduces impulse purchases, shortens prep time, and helps you feel more in control of your food budget. Many people find they waste less simply because they know what’s there before it disappears.
Adjust Storage Habits for Seasonal and Bulk Purchases
Seasonal abundance and bulk deals can save money, but they also test the limits of your storage system. When you bring home a case of peak-season tomatoes or a warehouse-club pack of chicken thighs, the usual zones can quickly overflow. Start by creating a temporary overflow plan before you shop. Clear a shelf in the freezer or a corner of the pantry so incoming items have a designated landing spot instead of piling up on the counter.
Break bulk packages into meal-sized portions right away. Divide large cuts of meat, blocks of cheese, or big bags of grains into the clear containers you already use, then label them with the contents and date. This keeps your first-in, first-out rotation intact and prevents a single massive package from hiding smaller items behind it. For produce, take a few minutes to wash, trim, and store items in the proper humidity drawers; many people find that prepping berries or greens immediately extends their usable life.
Preserve what you cannot use within a week. Freeze herbs in oil cubes, blanch and freeze vegetable scraps for stock, or turn extra fruit into quick jams or compotes. A simple dehydrator or low oven can turn surplus apples, mushrooms, or tomatoes into shelf-stable snacks that fit neatly into your pantry categories.
- Freeze flat in zip-top bags to maximize space and speed thawing.
- Keep a running list on the freezer door so nothing gets buried and forgotten.
- Rotate seasonal preserves into your weekly meal plan so they stay in the flow.
When the season ends or the bulk supply runs low, wipe down the temporary zones and return them to their regular purpose. This rhythm keeps your system flexible without letting short-term abundance create long-term clutter.
Putting It Together
Start with a quick reset. Pull everything out of the refrigerator and pantry, wipe the shelves, and sort items into keep, toss, and donate piles. Check dates and be honest about what you will actually use. This first pass usually takes an hour or two, depending on how long it has been since the last deep clean.
Next, apply the zones you planned. Place condiments and drinks in the door, ready-to-eat foods on the upper shelves, raw proteins in the bottom bin, and produce in the humidity drawers. In the pantry, group baking supplies, grains, canned goods, and snacks into their own sections. Transfer loose items into clear containers and label them with a marker and tape.
Set up the "Eat Me First" bin in the front of the fridge and fill it with anything nearing its peak. Write a simple inventory list on a notepad or phone note — just categories and rough quantities.
- Day 1: Reset and zone
- Day 2: Containerize and label
- Day 3: Build the first inventory list
- Day 4: Plan three meals using what is in the "Eat Me First" bin
- Day 5: Shop only for gaps, sticking to the list
- Day 6: Cook one batch meal for the week ahead
- Day 7: Review what worked, adjust zones, and note what to buy next time
Many people find that a low-stakes first week builds momentum without feeling overwhelming.
More from the blog
- How to Build a Simple Morning Mobility Routine for Stiff Joints
- How to Choose the Right Running Shoes for Your Foot Type and Gait
- How to Stretch Your Hamstrings Safely After Sitting All Day
From FitLife Solutions
Browse all our practical health and fitness guides at fitlifesolutions.site.
New practical health guides and articles on WhatsApp: follow our channel.
Earn by sharing our books with your audience: join our affiliate channel on Telegram for one ready-to-post book a day.
This article is for general information only and is not a substitute for professional medical advice. Talk to your doctor or another qualified health professional before changing your diet, exercise or health routine, especially if you have a medical condition or take medication.