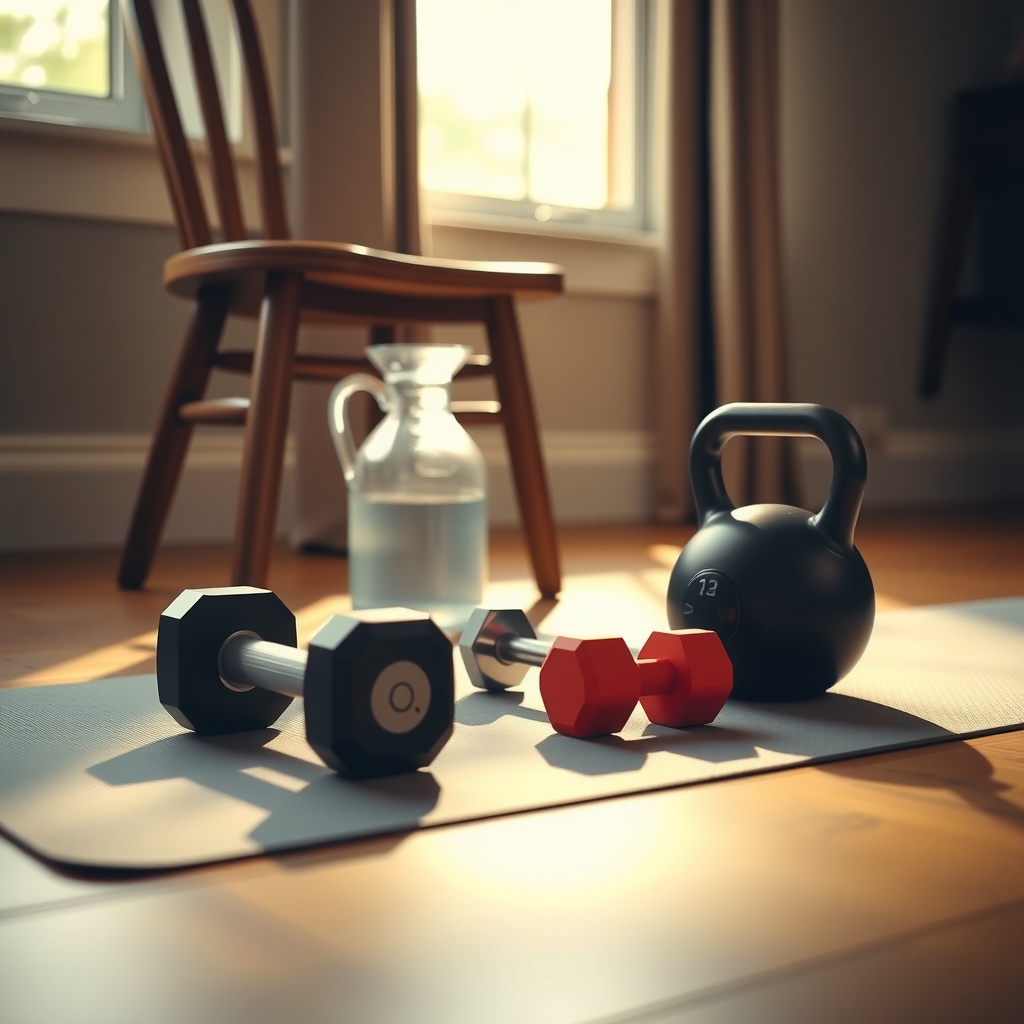
You want to get stronger without a gym membership, a commute, or a room full of machines. This guide is for beginners building their first routine, travelers keeping momentum on the road, and experienced lifters adapting to a garage or living room setup. It covers bodyweight progressions, household item hacks, and programming with basic gear like bands or a single pair of dumbbells.
By the end, you will be able to:
- Select the right movement variations for your current strength level
- Structure a balanced weekly plan that hits every major pattern
- Apply progressive overload using reps, tempo, leverage, and load
- Adjust the same framework for pure strength or muscle growth goals
- Troubleshoot common plateaus and joint niggles without guessing
Clear principles beat perfect equipment. If you have medical conditions or past injuries, check with a doctor before starting a new program.
Foundational Principles: How to Strength Train Effectively
Effective strength training rests on a few non-negotiable habits that work whether you are in a garage gym or a living room. First, prioritize compound movements — squats, hinges, pushes, pulls, and carries — because they train multiple muscle groups and joints simultaneously. These patterns build the coordination and systemic strength that carry over to daily life. Second, control the eccentric (lowering) phase of every rep. Taking two to three seconds to lower the weight or your body builds more strength and resilience than dropping quickly. Third, use a full range of motion that your joints allow without pain. Partial reps have a place, but full motion develops strength in the stretched position where injuries often happen.
- Move with intent: accelerate the concentric (lifting) phase, pause briefly if the exercise allows, and lower deliberately.
- Rest long enough to maintain form on the next set. Two to three minutes for heavy compound work, sixty to ninety seconds for accessory moves.
- Brace your core before each set: inhale into the belly, create 360-degree pressure, and hold it through the rep.
- Stop a set when technique breaks down, not when you simply feel tired. Technical failure is the signal; muscular failure is optional and riskier.
Consistency beats intensity. Three solid sessions per week sustained for months outperforms five perfect weeks followed by a month off. Track the basics — exercise, sets, reps, load, and how hard the last set felt on a 1 to 10 scale. If you have a history of joint issues, cardiovascular conditions, or are new to structured exercise, check with a doctor before adding load or volume.
Beginner Blueprint: Starting Strength Training at Home
Starting strength training at home works best when you keep the first few weeks simple and repeatable. Pick three non‑consecutive days — for example Monday, Wednesday, Friday — and block out 30 minutes. Wear clothes that let you move freely, clear a space about the size of a yoga mat, and keep a water bottle nearby. If you have any joint issues, past injuries, or medical conditions, check with a doctor before you begin.
A beginner session needs only four movement patterns: a squat, a push, a hinge, and a carry or core hold. Do two sets of 8–12 reps for each, resting 60–90 seconds between sets. Move slowly enough to feel the muscles working, not just the joints. If a rep feels shaky or painful, stop the set, rest longer, or drop to an easier version.
- Bodyweight squat to a chair or box: sit back until you touch, then stand.
- Elevated push‑up: hands on a kitchen counter, then a sturdy table, then the floor.
- Glute bridge: lie on your back, drive through heels, squeeze at the top.
- Dead bug or bird‑dog: keep the low back pressed to the floor while moving opposite limbs.
Track each workout in a notebook or phone note: date, exercise, sets, reps, and how hard it felt on a 1–10 scale. When you can finish all reps with good form at a 7 or 8 effort, make the next session slightly harder — add a rep, slow the tempo, or lower the push‑up surface. Many people find that consistency beats intensity in the first month; aim to show up, not to max out.
Bodyweight Mastery: Strength Training Without Equipment
Bodyweight training removes every barrier between you and a stronger body. You always have the floor, a wall, and gravity. The key is manipulating leverage and tempo so the work stays challenging as you improve. Start with the big movement patterns: a squat variation, a hinge, a push, a pull, and a carry or core brace. If a standard push-up is too hard, elevate your hands on a kitchen counter; as it gets easier, lower the surface to a sturdy chair, then the floor, then elevate your feet. For pulling without a bar, use a sturdy table edge for inverted rows or grab a doorframe for face pulls and rows — just verify the structure is solid. Single-leg work like rear-foot-elevated split squats or step-ups onto a low stool loads the legs heavily without external weight. Slow the eccentric phase to three seconds and add a one-second pause at the bottom; this increases difficulty without adding reps.
- Squat pattern: air squat → tempo air squat → split squat → rear-foot-elevated split squat → pistol progression (doorframe assist)
- Hinge: glute bridge → single-leg glute bridge → slider leg curl (towel on hard floor) → single-leg Romanian deadlift (wall for balance)
- Push: wall push-up → incline push-up → floor push-up → feet-elevated push-up → archer push-up
- Pull: doorframe row → table inverted row → single-arm doorframe row → towel row (anchor towel over door)
- Core/carry: dead bug → bird dog → plank → side plank → suitcase carry (heavy backpack or water jugs)
If wrists hurt on push-ups, use push-up handles or dumbbells to keep wrists neutral, or do knuckle push-ups on a mat. If knees bother you during squats, limit depth to a pain-free range, sit to a chair, or shift more weight to the heels. Shoulders cranky on overhead work? Skip vertical pressing and emphasize horizontal pushes and rows. Progress by adding a rep, slowing the tempo, reducing rest, or moving to the next variation — not all at once. Many people find two to three full-body sessions per week sustainable. Check with a doctor if you have joint issues, recent surgery, or cardiovascular concerns before starting.
Home Gym Essentials: Strength Training With Minimal Equipment
A few well-chosen tools can expand your exercise library dramatically without taking over your living space. The most versatile starting point is a pair of adjustable dumbbells or two to three fixed pairs covering a light, medium, and heavy range. If budget or space is tight, a single kettlebell between 8 kg and 16 kg handles goblet squats, swings, presses, and rows effectively. A doorframe pull-up bar adds the vertical pulling pattern that bodyweight work often misses; choose a model that mounts with leverage rather than screws if you rent. Long resistance bands (41-inch loops) assist pull-ups, add load to push-ups and squats, and enable face pulls or band pull-aparts for shoulder health. A set of mini bands targets glutes and hips during warm-ups or finishers. Suspension straps anchor to the same door or bar and scale rows, push-ups, and single-leg work by adjusting body angle. For floor comfort and wrist support, a firm yoga mat and a pair of parallettes or sturdy push-up handles round out the kit.
- Adjustable dumbbells or 2–3 fixed pairs
- One kettlebell (8–16 kg)
- Doorframe pull-up bar (leverage mount)
- 41-inch resistance bands (light, medium, heavy)
- Mini bands for hip work
- Suspension trainer
- Yoga mat and push-up handles
Start with the pull-up bar and one band; many people find this covers 80 percent of their needs for months. Add load only when bodyweight variations stop challenging you in the 5–12 rep range. Check that doorframes and anchor points are solid before loading them, and clear a 6-by-6-foot area so you can move safely. If you have any joint issues or medical conditions, check with a doctor before adding external resistance.
If you want this in more depth, our book Chair Workouts: Simple Seated Exercises for Strength and Mobility covers it step by step.
Gym vs. Home: Adapting Your Strength Training Environment
The main difference between a gym and your living room is the resistance curve. Machines and cable stacks provide consistent tension through a full range of motion. Bands, dumbbells, and bodyweight do not. A band is light at the bottom of a row and heavy at the top; a dumbbell chest press loses tension at lockout. To adapt, change how you load the movement. Slow down the eccentric phase to three seconds. Add a pause in the stretched position. Use a backpack for rows or split squats to keep tension where the band drops off. If an exercise feels too easy at the top, shorten the range to the hardest half and accumulate volume there.
Gyms also dictate exercise selection through equipment availability. At home, you select movements based on what you own and the space you have. This is a constraint, but it simplifies decision-making. Pick one push, one pull, one squat, one hinge, and one carry variation you can load progressively. Rotate them only when progress stalls. You do not need a perfect substitute for every machine; you need a heavy enough stimulus on the fundamental patterns.
Environment shapes consistency. A commute creates a mental switch; at home, the transition is instant. Many people find it helps to ritualize the start: change clothes, set a timer, put the phone in another room. Treat the living room like a facility you respect. If space is tight, use furniture sliders or a towel on hardwood for hamstring curls and ab rollouts. A doorway works for band anchors. A sturdy chair handles step-ups and dips.
- Match the resistance profile: slow eccentrics, paused reps, partials in the hard zone
- Limit the menu: one loaded variation per pattern, progress it weekly
- Build a start ritual: clothes, timer, phone away
- Use what the room gives you: doors, chairs, floors, walls
Strength vs. Hypertrophy: Programming for Your Specific Goal
The rep range you choose does not change the exercises — it changes how you load and progress them. For strength, the priority is moving heavier loads for fewer reps. Aim for 3 to 6 reps per set across 3 to 5 sets, resting 2 to 3 minutes between sets so each effort feels sharp. At home this means finding the hardest bodyweight variation you can control (such as archer push-ups or Bulgarian split squats) or loading a backpack, holding dumbbells, or using thick bands to hit that intensity. The goal is neural adaptation: teaching your nervous system to recruit more muscle fibers at once.
For hypertrophy, the driver is mechanical tension accumulated through volume. Work in the 8 to 15 rep range for 3 to 4 sets with 60 to 90 seconds rest. You can use the same movements — push-ups, rows, lunges, Romanian deadlifts — but choose a difficulty that brings you within 1 to 2 reps of failure on the last set. Slow eccentrics (3 seconds down) and a full stretch under load help when external weight is limited.
Many people find a mixed approach works well: lead each session with one main strength lift in the lower rep range, then follow with 2 to 3 hypertrophy accessories. Example: weighted goblet squats for 4 x 5, then bodyweight split squats for 3 x 12 and band pull-aparts for 3 x 15.
- Strength focus: lower reps, heavier load, longer rest, prioritize intensity
- Hypertrophy focus: moderate reps, moderate load, shorter rest, prioritize volume and control
- Combined: 1 heavy compound, then 2 to 3 higher-rep accessories
If joints ache, reduce range of motion or switch to a joint-friendlier variation. If progress stalls for two weeks, add a rep, a set, or a slightly harder variation. Check with a doctor if you have cardiovascular or orthopedic concerns before training near failure.
Progressive Overload at Home: Tracking and Advancing Without Machines
Progressive overload is the engine that keeps strength gains moving, and at home it just requires a reliable way to make each week slightly harder than the last. Start by picking one measurable metric per exercise: total reps across sets, rest time between sets, tempo (for example, a three-second lowering phase), or range of motion (such as elevating your feet for push-ups). Write it down in a notebook or a simple spreadsheet — date, exercise, sets, reps, and any load used. That log becomes your decision-making tool.
When an exercise feels smooth for all prescribed sets, apply the smallest sensible jump. If you hit three sets of twelve bodyweight squats with good control, next session try three sets of thirteen, or keep reps the same and slow the descent to three seconds. With bands or dumbbells, move to the next band thickness or add 1–2 kg per dumbbell. If you only have one band, shorten the anchor point or double it up to increase tension. For household items, fill a backpack with books and weigh it on a bathroom scale so you know the exact load.
- Track one primary lift per movement pattern (push, pull, squat, hinge, carry) each week.
- Use a "rep window" like 8–12; when you hit the top for all sets, increase difficulty next session.
- If form breaks down or joints ache, drop back to the previous level for a week before progressing again.
- Deload every 4–6 weeks by cutting volume roughly in half while keeping intensity.
Many people find that a consistent, written log prevents the common trap of repeating the same workout for months. If pain persists beyond normal muscle soreness, check with a doctor or physical therapist before pushing further.
Putting It Together
Start with three non-consecutive training days this week, such as Monday, Wednesday, and Friday. Each session follows the same full-body template: a two-minute warm-up of marching in place, arm circles, and bodyweight good mornings, then three sets of 8 to 12 reps for a squat variation, a push variation, a hinge or lunge variation, and a row or pull variation. Rest 60 to 90 seconds between sets. Choose the hardest version of each movement you can perform with control for all reps — bodyweight squats or goblet squats with a backpack, elevated push-ups or floor push-ups, glute bridges or single-leg hip thrusts, and doorframe rows or dumbbell rows. Finish with two sets of a dead bug or plank variation for 20 to 40 seconds.
- Monday: test your chosen variations, note reps and difficulty
- Wednesday: repeat, aiming for one extra rep on the last set of each move
- Friday: repeat, adding a pause at the bottom of squats and push-ups if form holds
Track the numbers in a notebook or phone. If a joint aches beyond muscle fatigue, swap to an easier regression next session. Many people find two weeks of this baseline reveals where to progress. Check with a doctor before starting if you have existing injuries or medical conditions.
More from the blog
- How to Reduce Portion Sizes Without Feeling Hungry
- Healthy Breakfast Ideas Without Eggs
- How to Pack Nutritious Work Lunches Without a Microwave, Fridge, or Cooking
From FitLife Solutions
Our book Chair Workouts: Simple Seated Exercises for Strength and Mobility goes further, as a digital eBook (PDF and EPUB) you can read on any device.
Browse all our practical health and fitness guides at fitlifesolutions.site.
New practical health guides and articles on WhatsApp: follow our channel.
This article is for general information only and is not a substitute for professional medical advice. Talk to your doctor or another qualified health professional before changing your diet, exercise or health routine, especially if you have a medical condition or take medication.