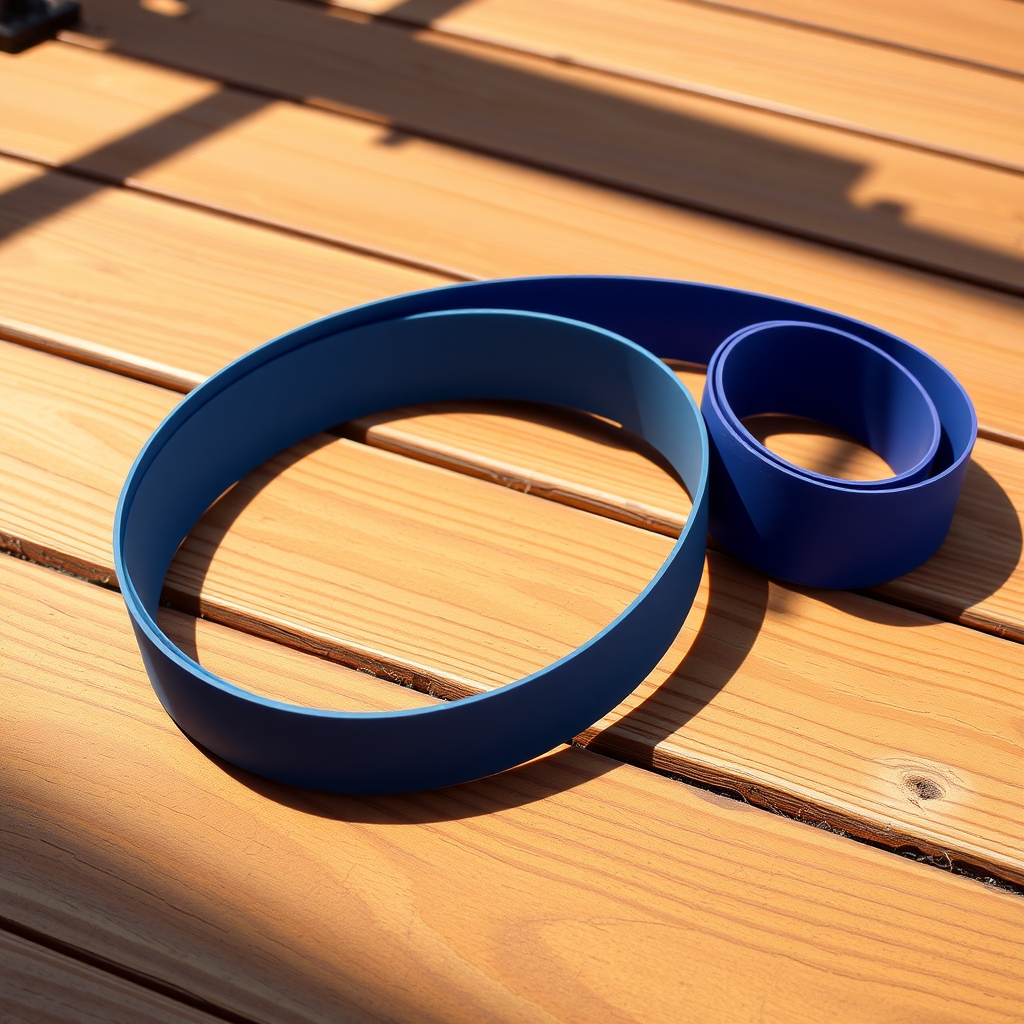
If you have ever stood in front of a rack of colorful bands and wondered which one actually matches the strength you have right now, this guide is for you. It speaks to beginners who are just learning the feel of variable resistance, to lifters who want a portable option for travel or deload weeks, and to anyone rehabbing a joint who needs a smooth, joint-friendly load. The goal is simple: help you pick a band tension and length so every repetition feels challenging but doable, without guesswork.
After reading, you will be able to:
- Identify what the common color codes usually mean and why they can vary between brands
- Test your current strength baseline with a few quick movements
- Choose a band length that lets you move through a full range of motion without slack or overstretch
- Apply simple progressive overload methods as you get stronger
- Adjust setups for upper-body pushes, pulls, and lower-body patterns
- Combine bands safely when a single band is too light or too heavy
- Care for your bands so the resistance stays consistent over time
If you have any medical conditions or recent injuries, consider checking with a healthcare professional before starting a new resistance routine.
Understanding Resistance Band Color Coding Systems
Resistance band color coding can feel like a secret language at first, but the logic is straightforward once you know what to look for. Most manufacturers follow a general progression where lighter colors represent lighter tension and darker colors indicate heavier resistance. A common sequence starts with yellow for extra light, moves through red and green for light to medium, then blue and black for heavy and extra heavy. Some brands add silver or gold at the top end for maximum tension. Because there is no universal standard, a red band from one company may feel closer to a green band from another. Many people find it helpful to treat the color as a rough guide rather than a precise promise.
Thickness and width matter just as much as hue. A thick, narrow loop labeled "light" can produce more force at full stretch than a wide, thin sheet labeled "medium." Check the product details for the tension range, usually listed in pounds or kilograms at 100 percent and 200 percent elongation. If that data is missing, you can test the band yourself by anchoring it and measuring how far you can stretch it with a known weight.
- Yellow or tan: typically extra light, useful for mobility work or rehabilitation
- Red: often light, good for high-rep accessory movements
- Green: frequently medium, a versatile starting point for general strength
- Blue: commonly heavy, suited for compound lower-body exercises
- Black: usually extra heavy, for strong lifters or doubled-up setups
- Silver or gold: maximum resistance, often used by advanced athletes
When in doubt, buy a set that includes several colors so you can experiment. You may also want to verify the exact tension with a luggage scale or similar tool before relying on the band for structured training. If you have any joint concerns or previous injuries, checking with a doctor or physical therapist before loading a new band heavily is a wise step.
Matching Band Tension to Your Current Strength Baseline
Finding the right starting tension is less about the color printed on the band and more about how the resistance feels during the last few repetitions of a set. A practical baseline is to choose a band that allows you to complete 10 to 15 controlled reps with good form, where the final two reps feel challenging but not shaky. If you breeze through 15 reps without a noticeable increase in effort, the band is likely too light. If your form breaks down before eight reps, or you cannot move through the full range of motion, the tension is too high for that movement today.
Many people find it helpful to test a band with a simple compound movement like a banded squat, chest press, or row before committing to a full workout. Perform a set slowly, paying attention to whether the resistance feels smooth throughout the entire motion or if there is a sudden spike that forces you to cheat. Bands produce variable resistance, meaning the load increases as the band stretches, so the hardest part of the rep is usually at the end range. Select a tension that lets you control that peak without locking out joints or shrugging shoulders.
- Start with a light or medium band for upper-body pushing and pulling exercises
- Choose a medium or heavy band for lower-body work like glute bridges or deadlifts
- Keep a second, lighter band nearby for warm-up sets or accessory movements
- Reassess your baseline every few weeks as strength improves
If you have any joint concerns or are returning from injury, checking with a doctor or physical therapist before adding new resistance can help you select a safe entry point.
Selecting Optimal Band Length for Exercise Range of Motion
Band length changes how an exercise feels just as much as tension does. A band that is too short will hit its maximum stretch before you finish the movement, creating a sudden spike in resistance that can pull you out of good form. One that is too long may offer too little tension at the start, leaving the first half of the rep feeling empty. Most standard loop bands measure around 41 inches laid flat, which works well for many full-body moves, but your height, limb length, and the specific exercise all shift the ideal fit.
For pressing or pulling movements where the band anchors behind you or overhead, you want enough slack to set up with light tension at the starting position. If the band is already tight before you move, the resistance curve gets distorted. For lower-body work like squats or hip thrusts, a longer band lets you stand on it with a comfortable stance width while still leaving room to descend fully. Many people find that having two lengths on hand — one standard loop and one extra-long or open-ended band — covers almost every scenario without forcing awkward setups.
- Test a band by mimicking the full range of motion slowly before adding effort; the resistance should rise smoothly from start to finish.
- If you feel a hard "wall" before lockout, the band is too short for that movement.
- For anchored exercises, adjust your distance from the anchor point to fine-tune the starting tension without changing bands.
- Taller individuals or those with longer limbs often benefit from 48-inch loops or linking two bands together.
- Always inspect the band for wear near the anchor or foot contact points, as these areas stretch most and degrade fastest.
A quick length check before each session takes seconds and keeps every rep productive.
Progressive Overload Strategies with Variable Resistance Bands
Progressive overload with resistance bands works differently than with fixed weights because the tension increases as the band stretches. This variable resistance means the hardest part of each repetition occurs at the end range, which can be used strategically. Start by mastering an exercise with a band that allows you to complete eight to twelve controlled repetitions with good form. Once you can perform the full set comfortably, you have a few practical options to increase the challenge.
- Shorten the effective length by choking up on the band or anchoring it closer to your body, which raises the starting tension.
- Add a second band of the same or lighter thickness to increase load without a dramatic jump.
- Slow down the tempo, especially the lowering phase, to increase time under tension.
- Increase the range of motion slightly if you have been working in a shortened pattern, ensuring the band still provides tension at the bottom.
- Perform an extra set before moving to a thicker band.
Many people find that cycling through these adjustments over several weeks creates steady progress while reducing joint stress. Because bands deliver peak resistance at lockout, they can highlight weak points in the top half of movements like presses or rows. If you notice form breaking down at the end range, reduce the tension or shorten the range until control returns. Tracking your band color, anchor position, and rep counts in a simple notebook helps you see patterns and plan the next small step. As always, check with a doctor or qualified professional if you have any underlying conditions or experience sharp pain during training.
If you want this in more depth, our book Strength Training Fundamentals: Building Muscle and Confidence with Resistance Training covers it step by step.
Adjusting Band Setup for Upper vs Lower Body Movements
Upper body movements typically involve smaller muscle groups and shorter ranges of motion than lower body exercises, so the same band often feels significantly heavier when you press overhead or row compared to when you squat or hinge. Many people find it helpful to keep two or three bands on hand — light, medium, and heavy — and simply swap them as the exercise changes. For pressing and pulling variations, anchoring the band at chest height or slightly above usually creates a smooth resistance curve that matches the strength profile of the shoulder and elbow joints.
Lower body work benefits from longer bands or heavier tension because the glutes, quads, and hamstrings produce much more force. Stepping on the band with both feet and widening your stance increases tension without changing equipment, while a single-foot anchor reduces load for unilateral moves such as split squats or Romanian deadlift variations. If the band slides during hip-dominant lifts, placing it across the upper back or using a fabric loop band can improve stability.
- Test each new exercise with the lightest band first; add tension only when you can complete the target reps with control.
- Keep the band path aligned with the limb moving — avoid angles that pull the joint sideways.
- For mixed sessions, arrange bands in order of tension so transitions stay quick and the workout flows.
If you have any joint concerns or previous injuries, check with a doctor or qualified therapist before loading heavily in end-range positions.
Combining Multiple Bands for Customized Resistance Levels
When a single band does not quite hit the sweet spot, stacking two or more bands lets you fine-tune resistance in small increments. Start by looping a lighter band alongside your primary one; the combined tension rises smoothly through the range of motion and often feels more natural than jumping to the next color. Many people find that pairing a thin band with a medium band gives them a usable step between standard sizes, especially for isolation moves like lateral raises or band pull-aparts where a large jump in load can break form.
Keep the bands aligned so they stretch together rather than twisting independently. If you anchor them separately, place the anchors at the same height and distance to maintain even pull. For pressing or squatting patterns, you can also choke up on one band by shortening its working length while leaving the other at full length, creating a staggered resistance curve that loads the top of the movement more heavily.
- Test combinations unloaded first to confirm the bands track evenly.
- Note which pairings feel smooth for each major movement pattern so you can replicate them quickly.
- Inspect each band for nicks or thinning before linking them, because a compromised band can snap under combined tension.
Progress by adding a lighter band rather than swapping to a heavier single band, and remove bands one at a time as fatigue sets in during a session. If you have any joint concerns or prior injuries, check with a healthcare professional before increasing total load significantly.
Maintaining Band Integrity for Consistent Tension Accuracy
Resistance bands lose their calibrated tension when the material degrades, so a band that once provided thirty pounds of pull might deliver far less — or snap unexpectedly. Heat, sunlight, and repeated overstretching break down the latex or polymer structure faster than normal use. Store bands in a cool, dark drawer or bag rather than leaving them in a hot car, on a sunny windowsill, or near a radiator. After each session, wipe them with a damp cloth to remove sweat and skin oils, then let them air dry completely before putting them away.
Inspect the entire length before every workout. Look for tiny tears, white stress lines, sticky or powdery surfaces, and any thinning near the ends where you anchor or grip. Even a small nick can propagate quickly under load. If you spot damage, retire that band; the cost of a replacement is far lower than the risk of a snap during a face pull or squat.
- Rotate between two or three bands of the same tension so no single band absorbs every session’s volume.
- Avoid stretching any band beyond two and a half times its resting length unless the manufacturer explicitly rates it for more.
- Keep sharp edges — carabiners, rough door anchors, jewelry — away from the band surface.
- Use a light dusting of cornstarch or talc on therapy-style flat bands if they start to stick together; skip petroleum-based lubricants, which degrade latex.
If you have a latex allergy, choose non-latex synthetic bands and follow the same care routine. When in doubt about a band’s condition, replace it. Consistent tension depends on intact material, and intact material depends on simple, daily habits.
Putting It Together
Start your first week by picking one light and one medium band that match the color coding you learned earlier. Test each band with a simple move like a band pull-apart or a glute bridge to confirm the tension feels challenging but lets you finish 10 to 12 clean reps. If the last two reps feel shaky but controlled, you are in the right range.
Plan three short sessions spaced a day apart. Each session can be 15 to 20 minutes and include four exercises: a push, a pull, a hinge, and a squat variation. Use the light band for upper body moves and the medium band for lower body moves. Keep a small notebook or phone note to record the band used, reps completed, and how the set felt.
- Session 1: band chest press, band row, band deadlift, band squat
- Session 2: band overhead press, band face pull, band hip thrust, band lunge
- Session 3: repeat Session 1 but add one rep per set if it felt easy
Check your bands before each workout for nicks or overstretch. If any exercise causes joint pain, stop and adjust the anchor point or band choice. Many people find this low volume approach builds confidence without excessive soreness. Consider checking with a doctor before starting if you have any existing injuries or medical conditions.
More from the blog
- How to Choose the Right Running Shoes for Your Foot Type and Gait
- How to Choose a Water Bottle Material That Fits Your Daily Routine
- How to Choose a Supportive Mattress for Better Sleep and Back Health
From FitLife Solutions
Our book Strength Training Fundamentals: Building Muscle and Confidence with Resistance Training goes further, as a digital eBook (PDF and EPUB) you can read on any device.
Browse all our practical health and fitness guides at fitlifesolutions.site.
New practical health guides and articles on WhatsApp: follow our channel.
Earn by sharing our books with your audience: join our affiliate channel on Telegram for one ready-to-post book a day.
This article is for general information only and is not a substitute for professional medical advice. Talk to your doctor or another qualified health professional before changing your diet, exercise or health routine, especially if you have a medical condition or take medication.